Moisture mapping, moisture assessment and hardwood floors
Drying starts with a moisture assessment: readings taken across the slab, walls, insulation and stored materials to find where water went, not just where it landed. Those readings become a moisture map, a marked-up floor plan of wet and dry zones that sets the drying boundary and gets updated every day until each zone reaches its dry standard.
Office build-outs, showrooms and break rooms inside industrial buildings sometimes have hardwood or engineered wood floors. Wood cups and buckles as it takes on water, so it needs its own readings and often panel or mat drying systems that pull moisture up through the boards. Hardwood restoration, meaning sanding and refinishing once the boards reach their target moisture, comes after drying, not during it.
What makes big-space drying different
- Air volume
- High ceilings mean a lot of air per square foot of wet floor, so dehumidifiers work against far more air than in an office.
- Outside air
- Dock doors, exhaust fans and leaky walls bring in air that may help or hurt depending on the weather.
- Temperature
- Cold buildings dry slowly; drying equipment works better within the temperature range its maker specifies.
- Materials
- Most of the floor is concrete and steel. The slow-drying parts are drywall, insulation, wood, and anything porous.
- Power
- Large drying setups draw significant electrical load and may need temporary power.
Shrinking the drying zone
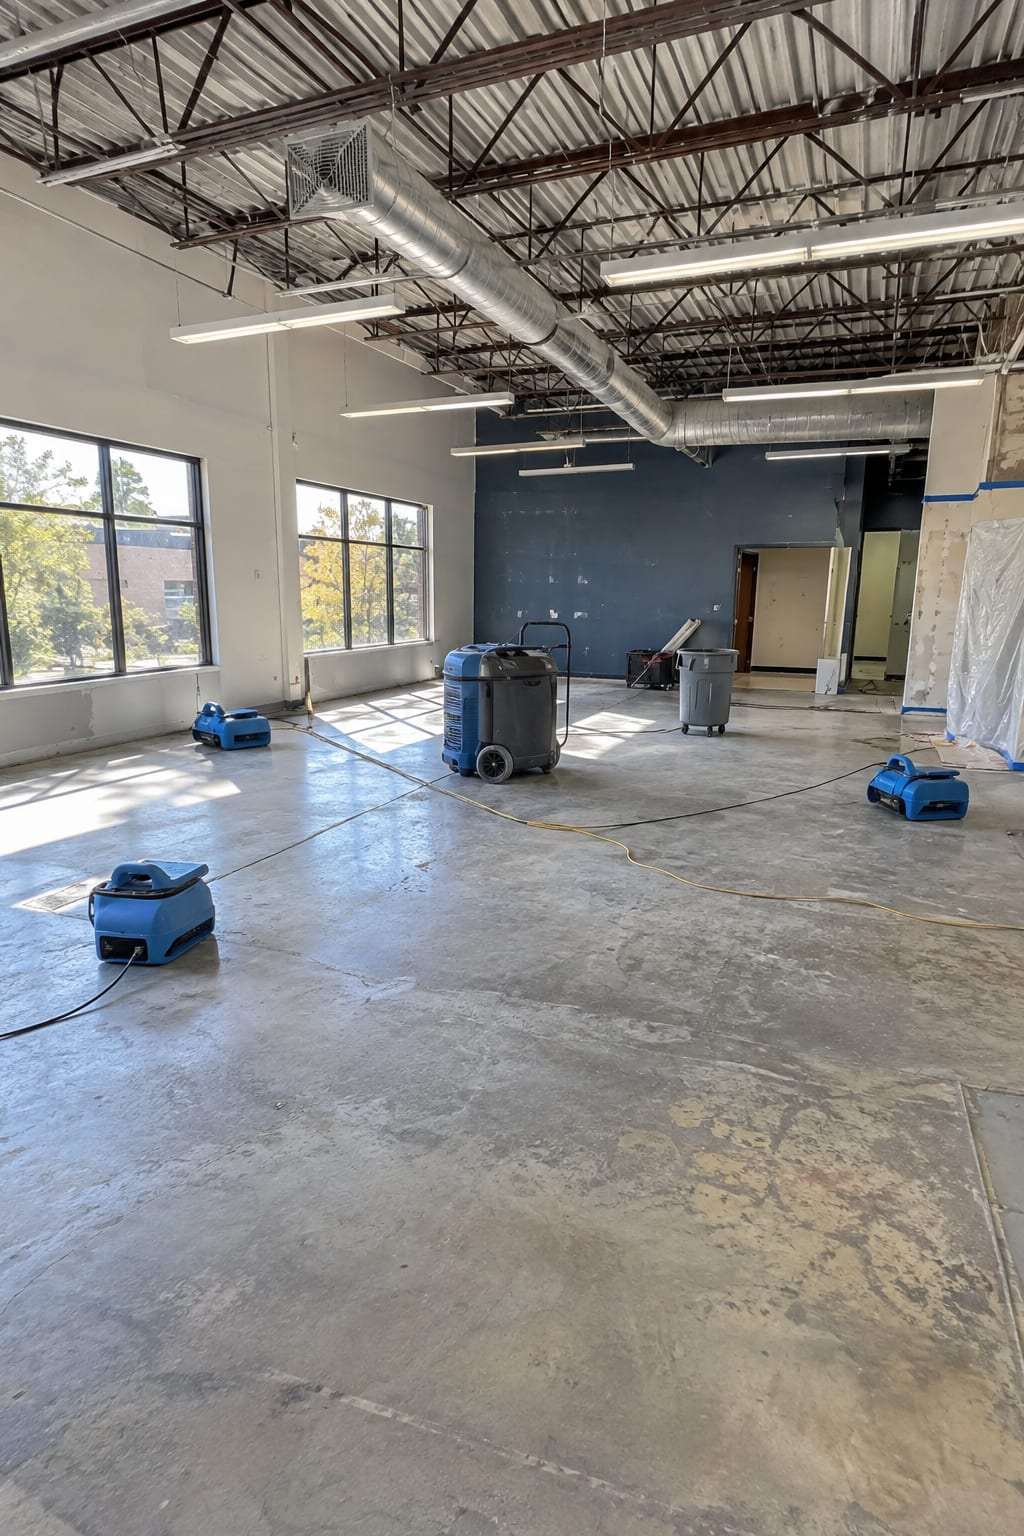
The most common strategy in a large industrial building is to enclose the wet area with temporary walls or curtains so drying equipment conditions a smaller space. Desiccant dehumidifiers, which perform well in cooler conditions, are often used for large or cold spaces, sometimes ducted into the zone from outside the building with their own power. Refrigerant dehumidifiers and air movers handle smaller areas and finished spaces like offices.
Colorado's dry climate is an advantage much of the year. When outside air is drier than inside air, bringing it in and exhausting moist air can speed drying at low cost. In cold weather, though, outside air can drop building temperatures and slow drying, and during spring storms it may be wetter than the air inside. A competent provider will measure inside and outside conditions and adjust rather than following a fixed routine.
Drying is measured, not guessed. Readings should be taken in the same spots each day in materials that matter: wall bottoms, wood, insulation and the slab near where water sat longest.
A practical drying plan
Remove standing water
Extraction and squeegeeing come first. Every gallon picked up as liquid is one the equipment does not have to evaporate.
Define the zone
Enclose the wet area so drying is focused, and keep operations or traffic out of it.
Set up and power equipment
Place dehumidifiers and air movers for the materials that are wet, with cords and generators placed safely.
Measure daily
Record temperature, humidity and material moisture at fixed points and share them with the facility and the adjuster.
Adjust and remove
Move equipment as areas dry, and remove it when readings reach the agreed dry standard.
Questions to settle about power and equipment
| Topic | Why it matters | What to agree |
|---|---|---|
| Electrical capacity | Drying equipment can overload circuits | Which circuits or temporary power will be used |
| Generators | Fuel, exhaust and noise near the building | Location away from intakes and doors, fueling schedule |
| Security | Equipment runs unattended at night | Who checks it and how alarms are handled |
| Heat | Cold slows drying | Whether building heat or temporary heat will be used |
General information for Commerce City, not a quote or professional advice. In an emergency, call 911.